


HOW TO MAKE PRESS ON NAILS LOOK REAL
Are you tired of spending hours at the nail salon or struggling with regular nail polish? Press-on nails offer a convenient and stunning solution that can give you the manicure of your dreams without the hassle. The key to nailing the perfect press-on look lies in mastering a few simple techniques. In this guide, we'll show you how to make press-on nails look so real that no one will be able to tell the difference!
1. Start with the Right Tools
Before you begin, gather your nail art essentials. The right tools can make a significant difference in achieving a flawless finish. Here are four must-have tools that will elevate your press-on nail game:
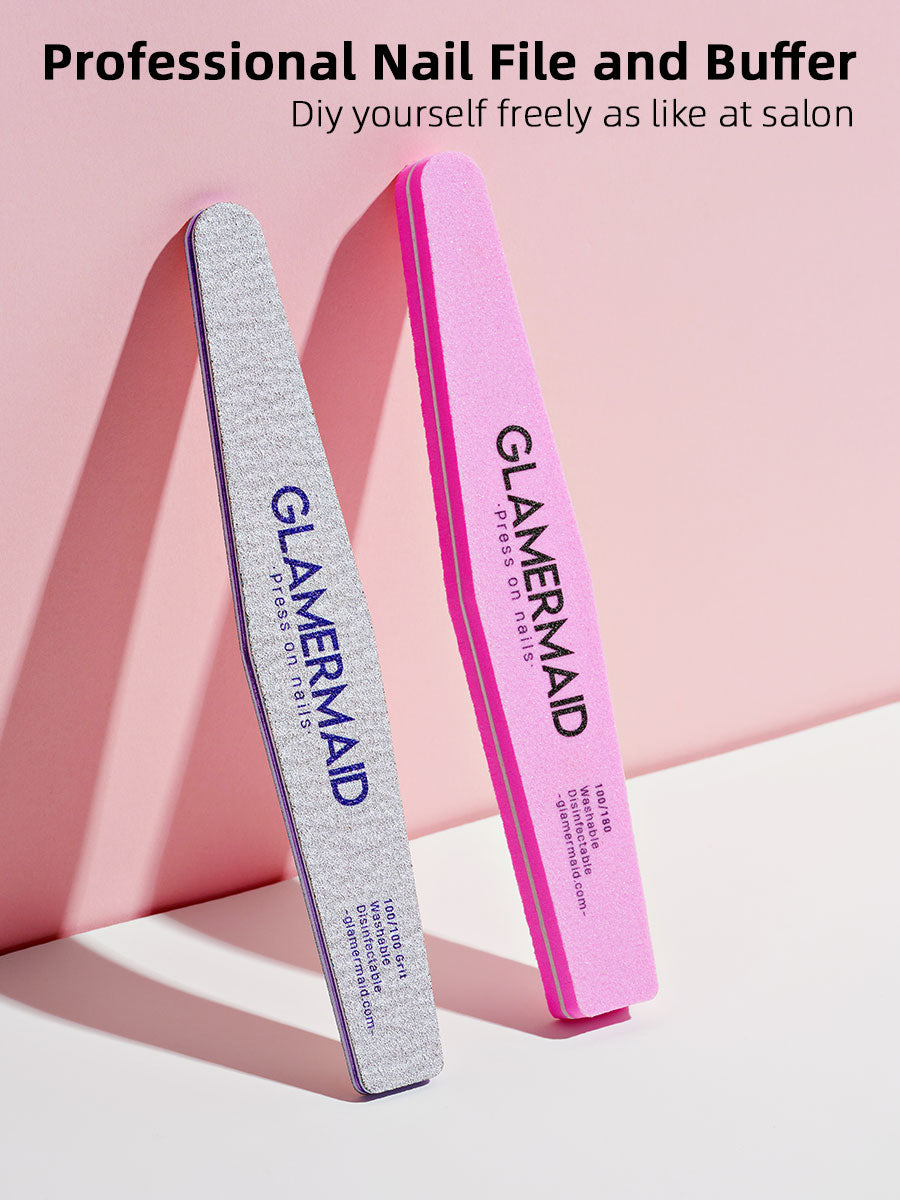
Nail File and Buffer: Prep your natural nails by gently filing and buffing the surface. This creates a smooth canvas for your press-on nails to adhere to.
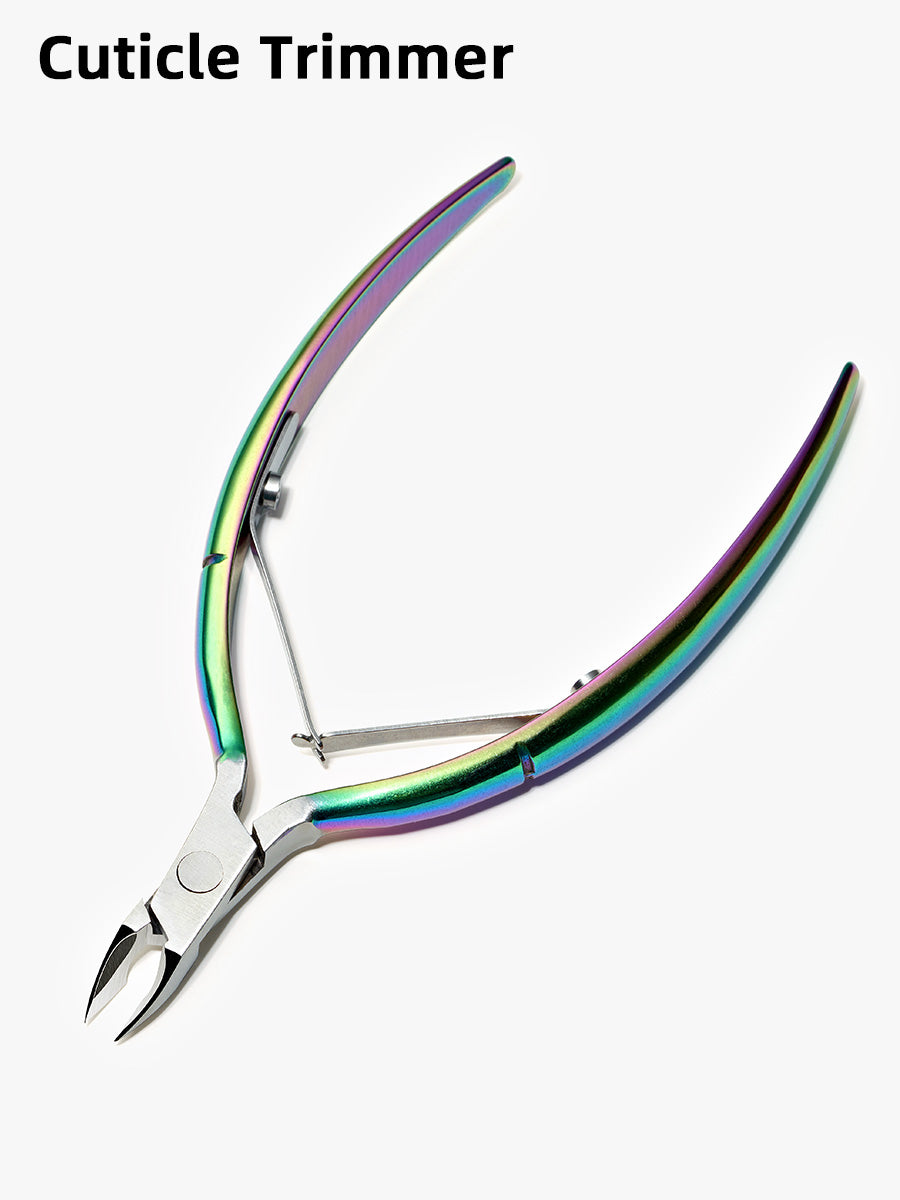
Cuticle Trimmer: Neat and well-groomed cuticles are essential for a realistic nail look. Use a cuticle trimmer to gently push back and trim any excess cuticles.
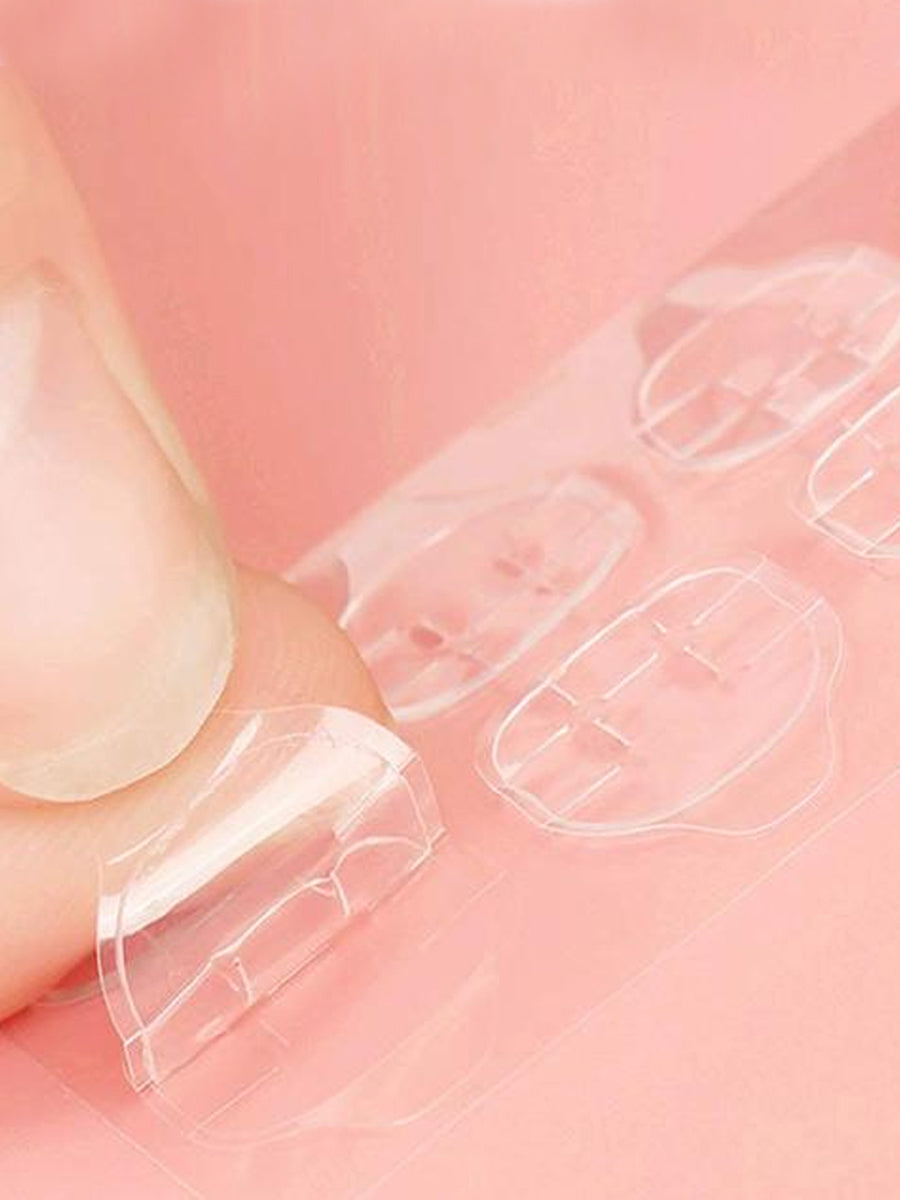
Adhesive Tabs: Adhesive tabs are perfect for a temporary nail makeover. They offer a damage-free option for those who want to change up their look frequently.
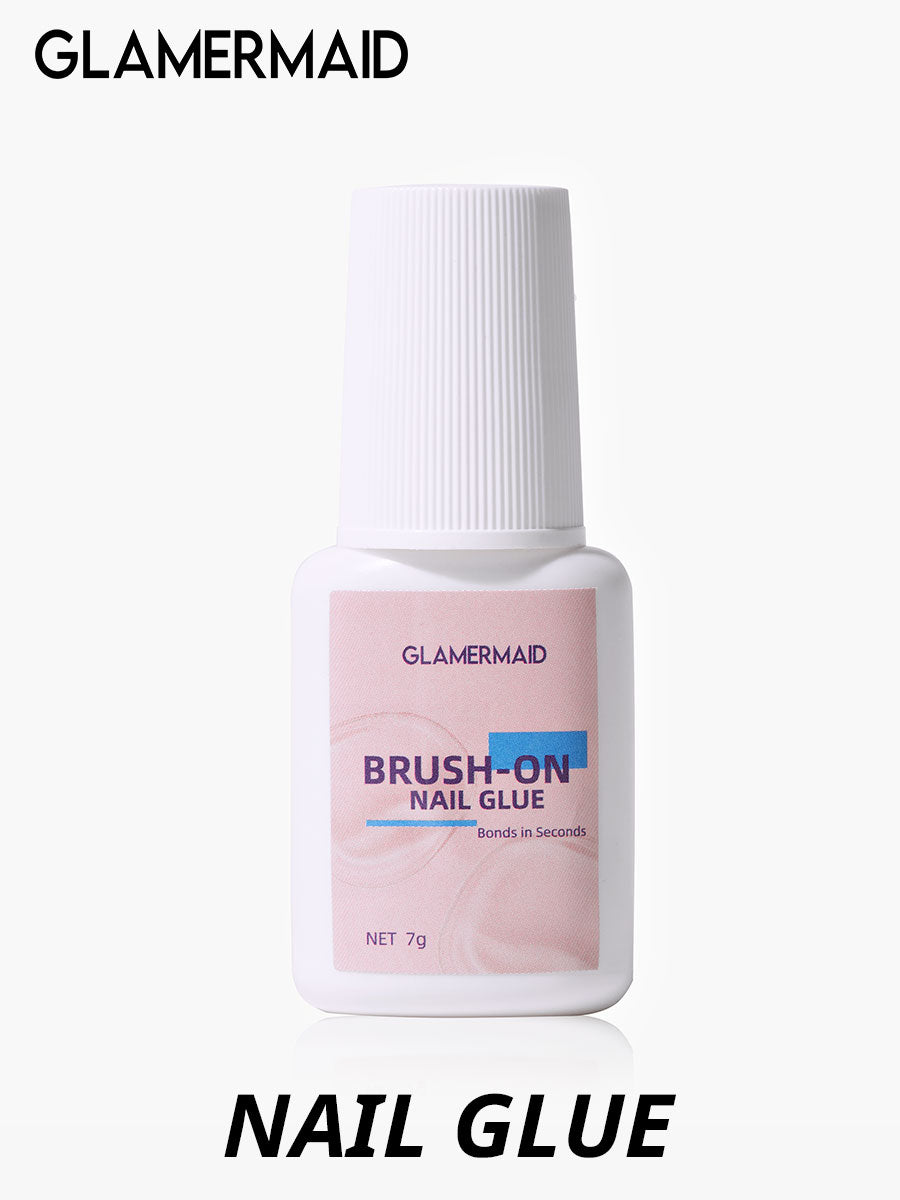
Nail Glue: For a longer-lasting hold, nail glue is your go-to. It provides a strong bond between your natural nails and the press-ons.
2. Choose the Right Size
One of the secrets to natural-looking press-on nails is ensuring that you choose the correct size for each nail. Selecting nails that match the width and shape of your natural nails will help them blend seamlessly.
3. Perfect Application
Here's a step-by-step guide to applying your press-on nails flawlessly:
a. Prep Your Nails: Start by cleaning your natural nails and pushing back your cuticles. File and buff the surface gently.
b. Apply Adhesive: Depending on your preference, use adhesive tabs for a temporary look or nail glue for a long-lasting one.
c. Press and Hold: Carefully align the press-on nail with your natural nail, starting from the cuticle. Press and hold it in place for a few seconds to allow the adhesive to set.
d. Shape and Trim: Use a nail file to shape and customize the length of your press-on nails. This step ensures a perfect fit and natural appearance.
e. Finishing Touches: Apply a top coat to seal the deal and give your nails a glossy finish. This will also help extend the life of your press-ons.
4. Confidence is Key
Rock your new press-on nails with confidence! Remember that the way you carry yourself can make all the difference in how others perceive your nails. Own your style and flaunt your flawless press-on manicure with pride.
Incorporating these tips and tools into your press-on nail routine will have you achieving a stunning, salon-worthy look in no time. Whether you're aiming for a quick style change or a long-lasting statement, press-on nails are your ticket to achieving the nails of your dreams, minus the fuss. So go ahead, experiment with different designs, and enjoy the compliments that will come your way!
1. Start with the Right Tools
Before you begin, gather your nail art essentials. The right tools can make a significant difference in achieving a flawless finish. Here are four must-have tools that will elevate your press-on nail game:
Nail File and Buffer: Prep your natural nails by gently filing and buffing the surface. This creates a smooth canvas for your press-on nails to adhere to.
Cuticle Trimmer: Neat and well-groomed cuticles are essential for a realistic nail look. Use a cuticle trimmer to gently push back and trim any excess cuticles.
Adhesive Tabs: Adhesive tabs are perfect for a temporary nail makeover. They offer a damage-free option for those who want to change up their look frequently.
Nail Glue: For a longer-lasting hold, nail glue is your go-to. It provides a strong bond between your natural nails and the press-ons.
2. Choose the Right Size
One of the secrets to natural-looking press-on nails is ensuring that you choose the correct size for each nail. Selecting nails that match the width and shape of your natural nails will help them blend seamlessly.
3. Perfect Application
Here's a step-by-step guide to applying your press-on nails flawlessly:
a. Prep Your Nails: Start by cleaning your natural nails and pushing back your cuticles. File and buff the surface gently.
b. Apply Adhesive: Depending on your preference, use adhesive tabs for a temporary look or nail glue for a long-lasting one.
c. Press and Hold: Carefully align the press-on nail with your natural nail, starting from the cuticle. Press and hold it in place for a few seconds to allow the adhesive to set.
d. Shape and Trim: Use a nail file to shape and customize the length of your press-on nails. This step ensures a perfect fit and natural appearance.
e. Finishing Touches: Apply a top coat to seal the deal and give your nails a glossy finish. This will also help extend the life of your press-ons.
4. Confidence is Key
Rock your new press-on nails with confidence! Remember that the way you carry yourself can make all the difference in how others perceive your nails. Own your style and flaunt your flawless press-on manicure with pride.
Incorporating these tips and tools into your press-on nail routine will have you achieving a stunning, salon-worthy look in no time. Whether you're aiming for a quick style change or a long-lasting statement, press-on nails are your ticket to achieving the nails of your dreams, minus the fuss. So go ahead, experiment with different designs, and enjoy the compliments that will come your way!